Below is a detailed methodology for my 12bit F35 ACES workflow using an AJA LUT box.
F35 to AJA LUT box to Gemini
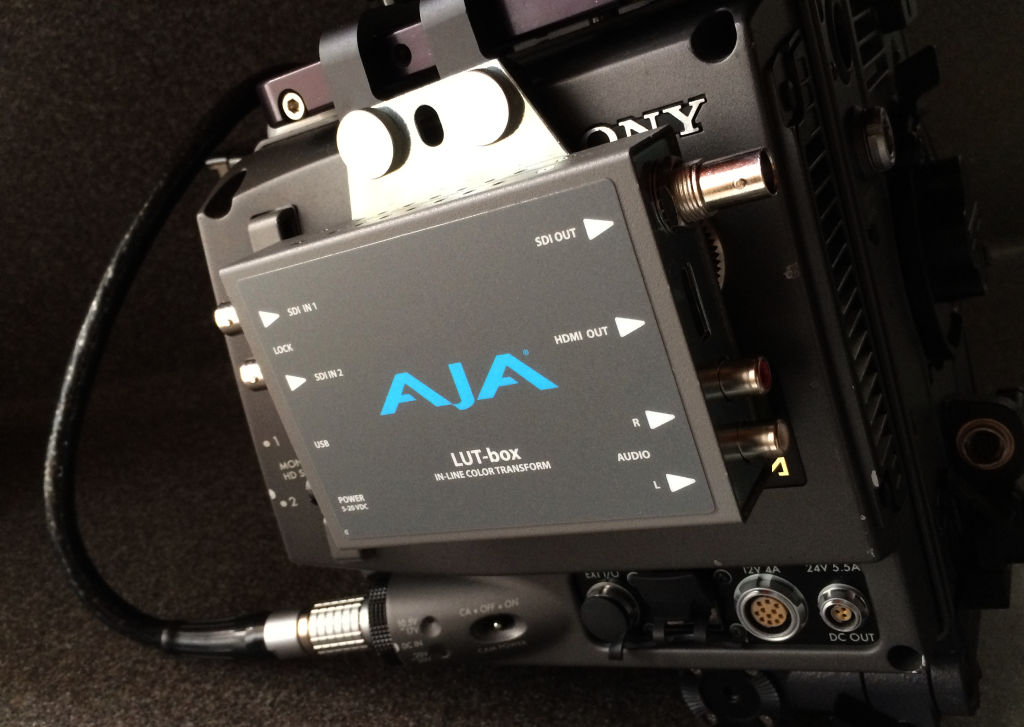
Begin with the F35 Camera set to a base ISO of 450 (0db). Frame rate should be set to _24 fps 12 bit (not 23.98) with S-Log Gamma and S-Gamut. Connect the dual link IF 4:4:4 outputs to 3G inputs of the AJA LUT box, the output on the LUT box should be taken from 3G single link output which converts the F35’s 12bit PsF signal to a true progressive signal the Gemini Recorder can accept. A 512 GB memory card will yield roughly 37 minutes @12bits/24 fps. Use Convergent Design’s transfer tool to unpack 12bit files to 16bit, otherwise Davinci will not be able to decipher the 12bit DPX files.)
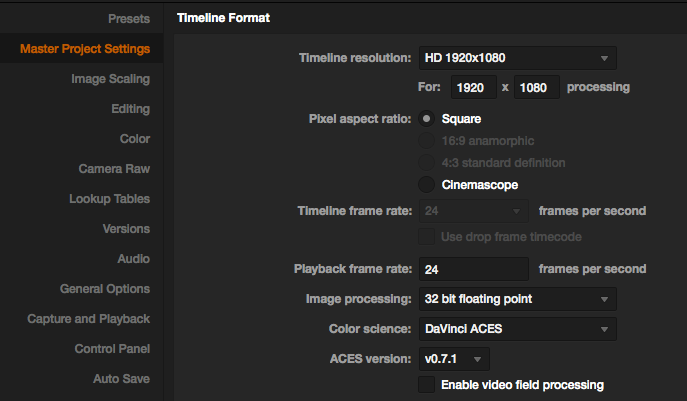
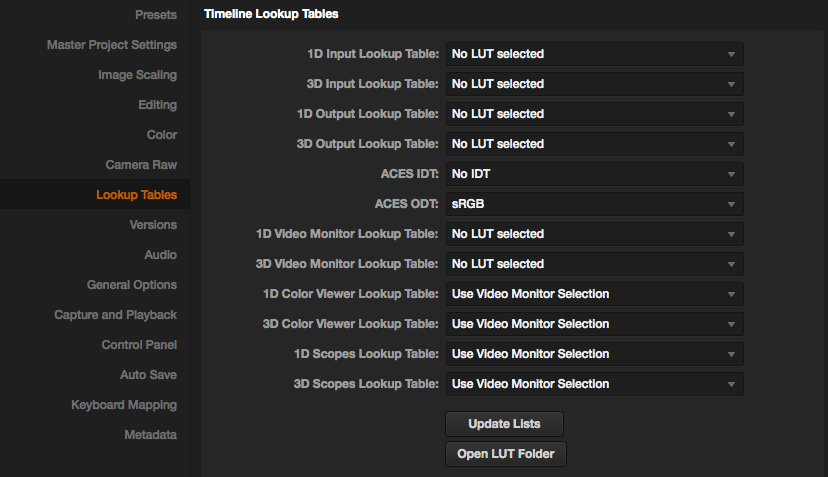
Import media to Davinci (I’m using v10.2, because of node issues on v11 due to an old video card). In master project settings, set project to Davinci ACES color space. Since there isn’t a native IDT readily available for the F35 camera within Davinci, leave IDT alone. We’ll use a 3D Transform LUT to replicate the IDT. Set ODT as SRGB (if your grading on a computer) or Rec 709 (if you’re going out to Broadcast/Bluray)
Transform LUT
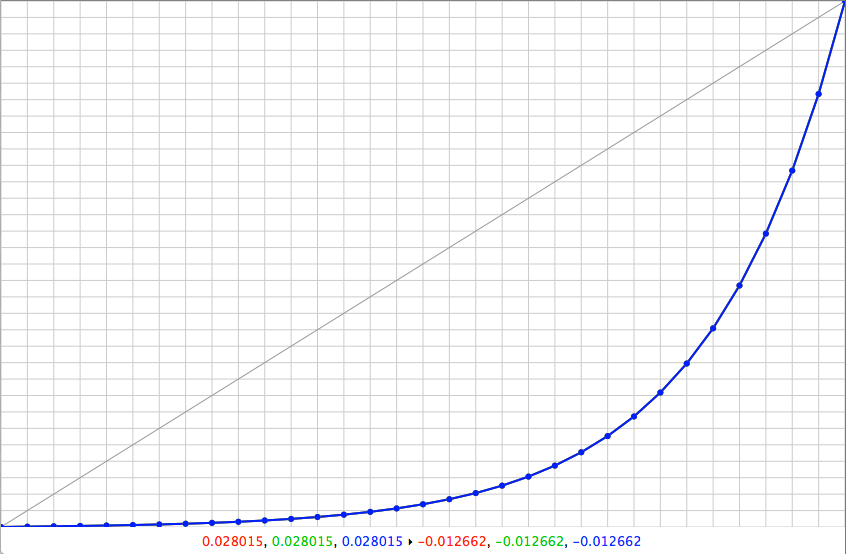
Apply the attached transform LUT on the timeline to all your clips; it will serve as a replacement for the IDT. This 3D LUT transforms S-Gamut to ACES and S-log to linear, without affecting color in a negative way so you can apply it to all your F35 footage as a neutral base. It places the footage in an optimal area for ACES so you can begin grading and make a minimum of adjustments.
Grade
Color correct your whites, blacks and grays on the waveform.
Tweak color using the vectorscope as guide. Throw in an overall curve to taste.
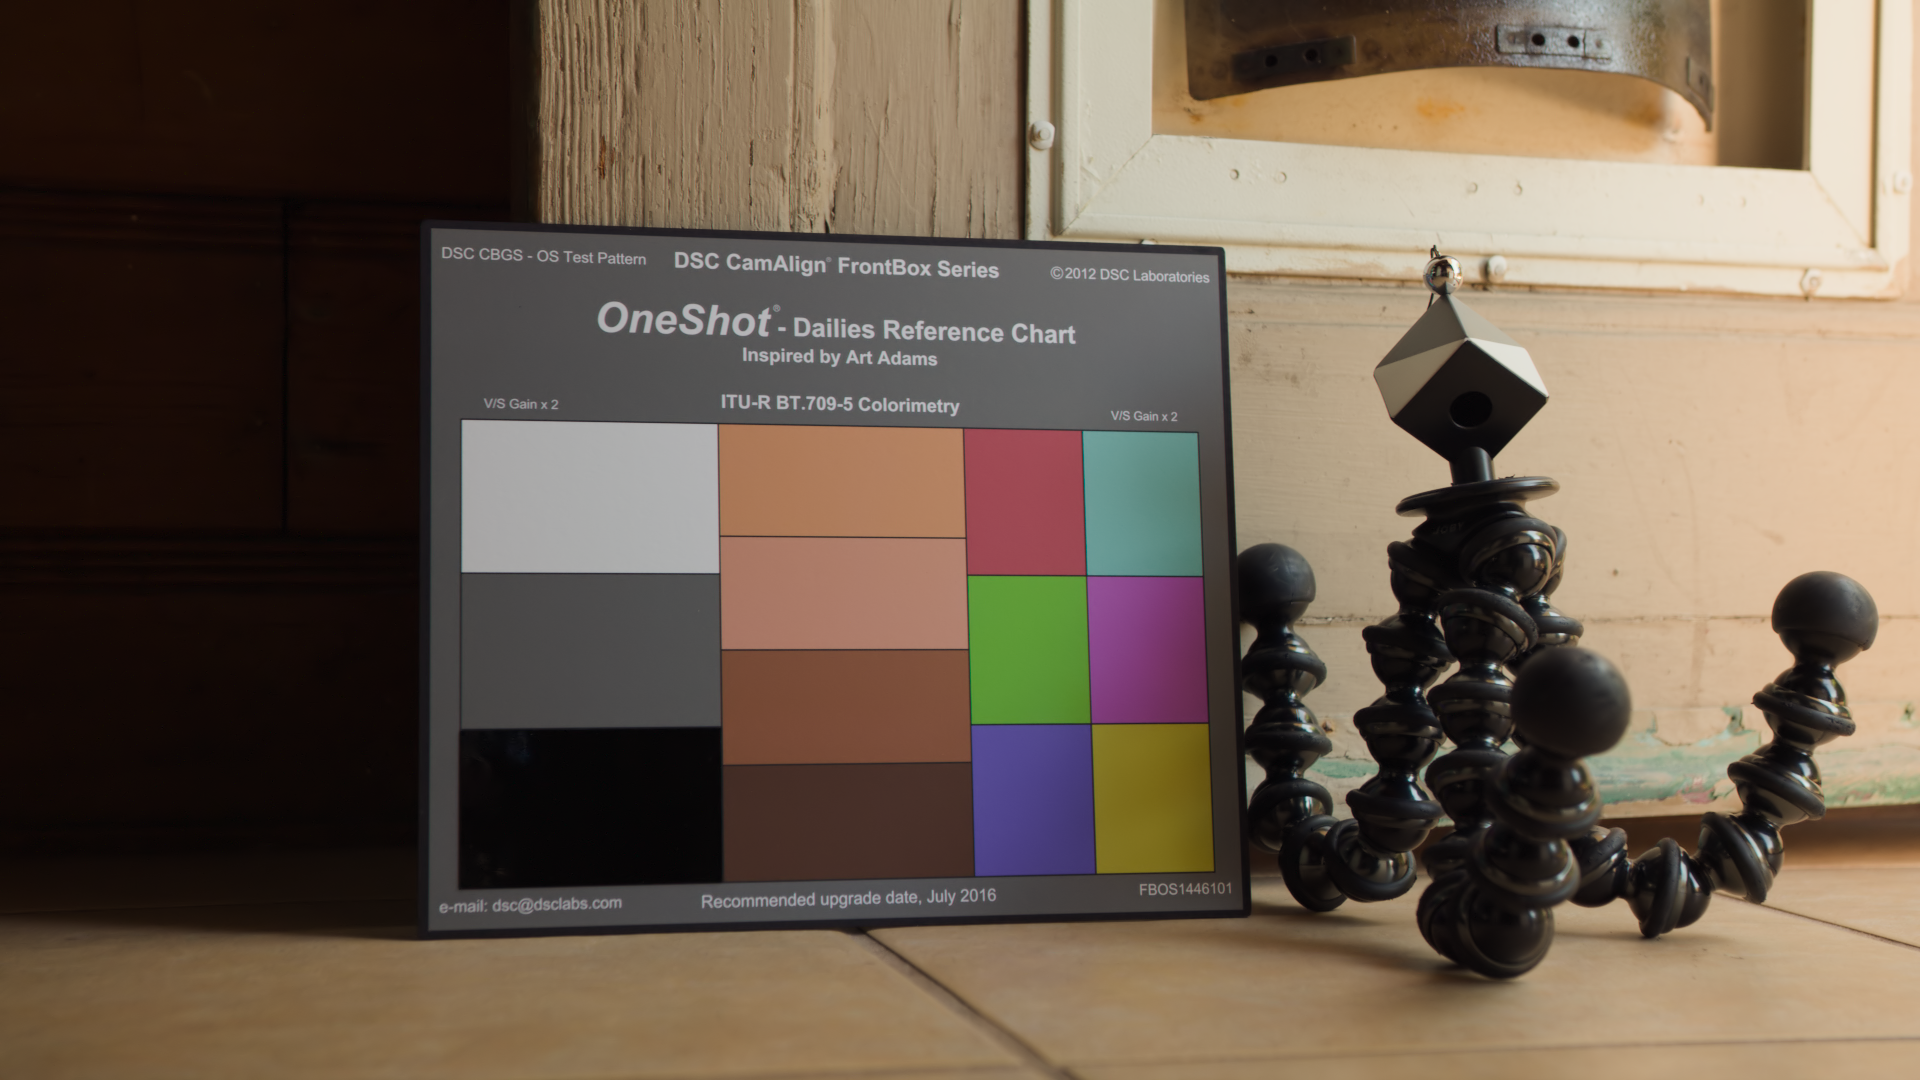
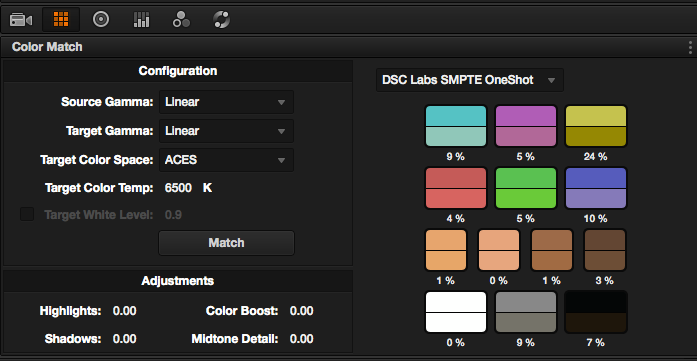
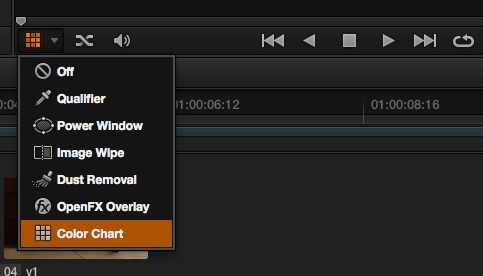
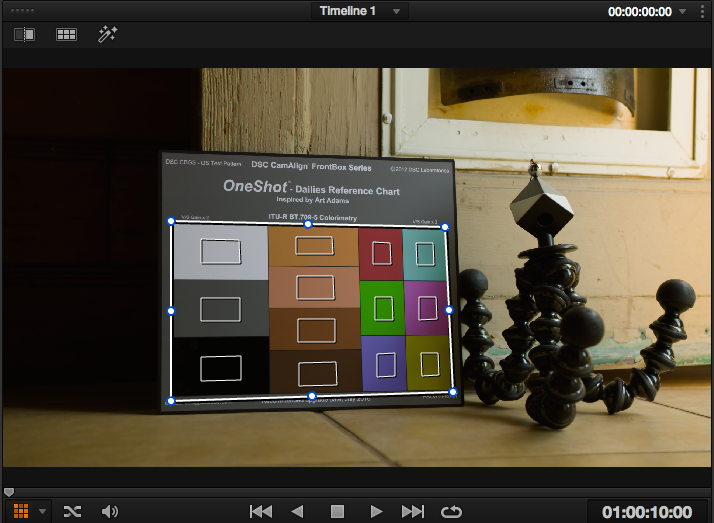
Or if you are on Davinci 11, and have a One Shot Card you can use the automatic color match based to skip the manual color correction. While the color match within Davinci is technically accurate I still prefer to adjust the sliders myself (in a minimalist fashion) to get to a similar slightly cleaner result, then I proceed to grade it.
Denoise
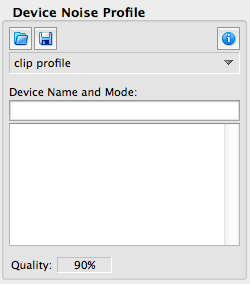
Apply Neat Video to denoise
Because the uncompressed 12 bit files provide such a huge amount of real data, Neat video can do a pretty amazing job of recovering all the detail and while clearly identifying all the color information that was captured. If you get a good shot of the gray card, you can get a 90% quality level when creating a camera profile which does wonders for differentiating noise from detail. The ability to generate a picture with no compression artifacts is pretty amazing.
The reason to use ACES instead of yRGB.
ACES takes the output medium into consideration so corrections stay within intended gamut and no information is lost. In the future, when rec2020 monitors become available you will simply need to switch an ODT rather than re-color-correcting for a new medium. Think of ACES as a huge coloring box with unlimited crayons. By transforming all the data into an even larger ACES color bucket, and shifting the log curve back into linear space all the data original is retained, you get crisp and clean data while manipulating your F35 footage. When you grade in it, you don’t lose any information because ACES space contains every color your monitor could possibly produce. Working in linear gamma also allows you to easily intercut footage to other cameras or cg elements without pesky color science getting in the way.

